 |
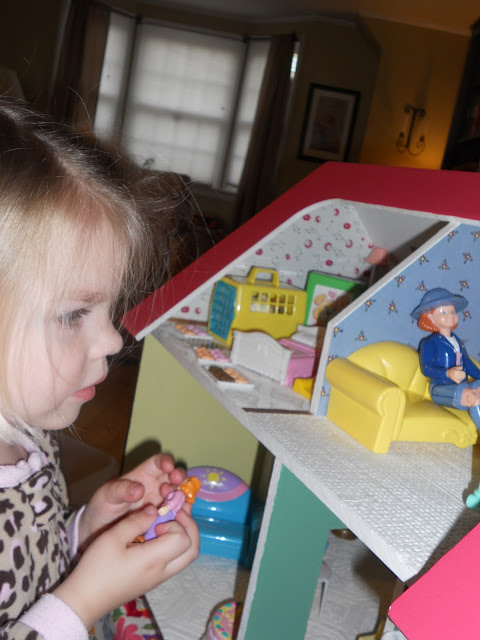
| Here's Goldilocks in front of the dollhouse before restoration. |
Evidence led me to believe a craftsman had put the house together.
I HAD TO BUY THIS HOUSE!!!
Herein lies the problem...where do I store this house while I wait for the kids to marry and the
babies to start coming? My workplace was the obvious answer.
I used the dollhouse rooms as cubbies to store my materials for Storytime.
Form meets function.
| This is NOT my desk at work, by the way! I just found this photo on a workplace desk search.. It's up to you to imagine a dollhouse placed underneath this desk for many years. But, the time has come to restore this beauty. Two grand-daughters as of this writing with one grandson presently on the way. Get out the sander, work gloves, paintbrushes, paint and elbow grease. It's time to do some house-KEEPING! |
 |
| DURING: the interiors are in the process of being "stripped" and painted. It was nice outside (finally) so I could work in the breezes blowing on our deck! |
 |
| AFTER: the house has been panted and papered. Now let's take a look at the dollhouse exterior. |
 |
| BEFORE: just as the house looked when I purchased it. |
 |
| DURING: the red roofing "shingle" wallpaper has been.stripped and the siding is taped off and ready to paint. |
 |
| AFTER: house siding, roofing and trim has been painted. |


One of the last steps in finishing up the dollhouse was to add wallpaper and flooring. I used scrapbook paper for the wallpaper - applying it to the wall that had been covered first with Mod Podge. The flooring? I used textured white vinyl wallpaper from a sample book. It went down like a dream and will be easily cleaned.
 | ||||
| In this dollhouse anything goes! Giant chairs, three toilets in 3 rooms? Of course! |


